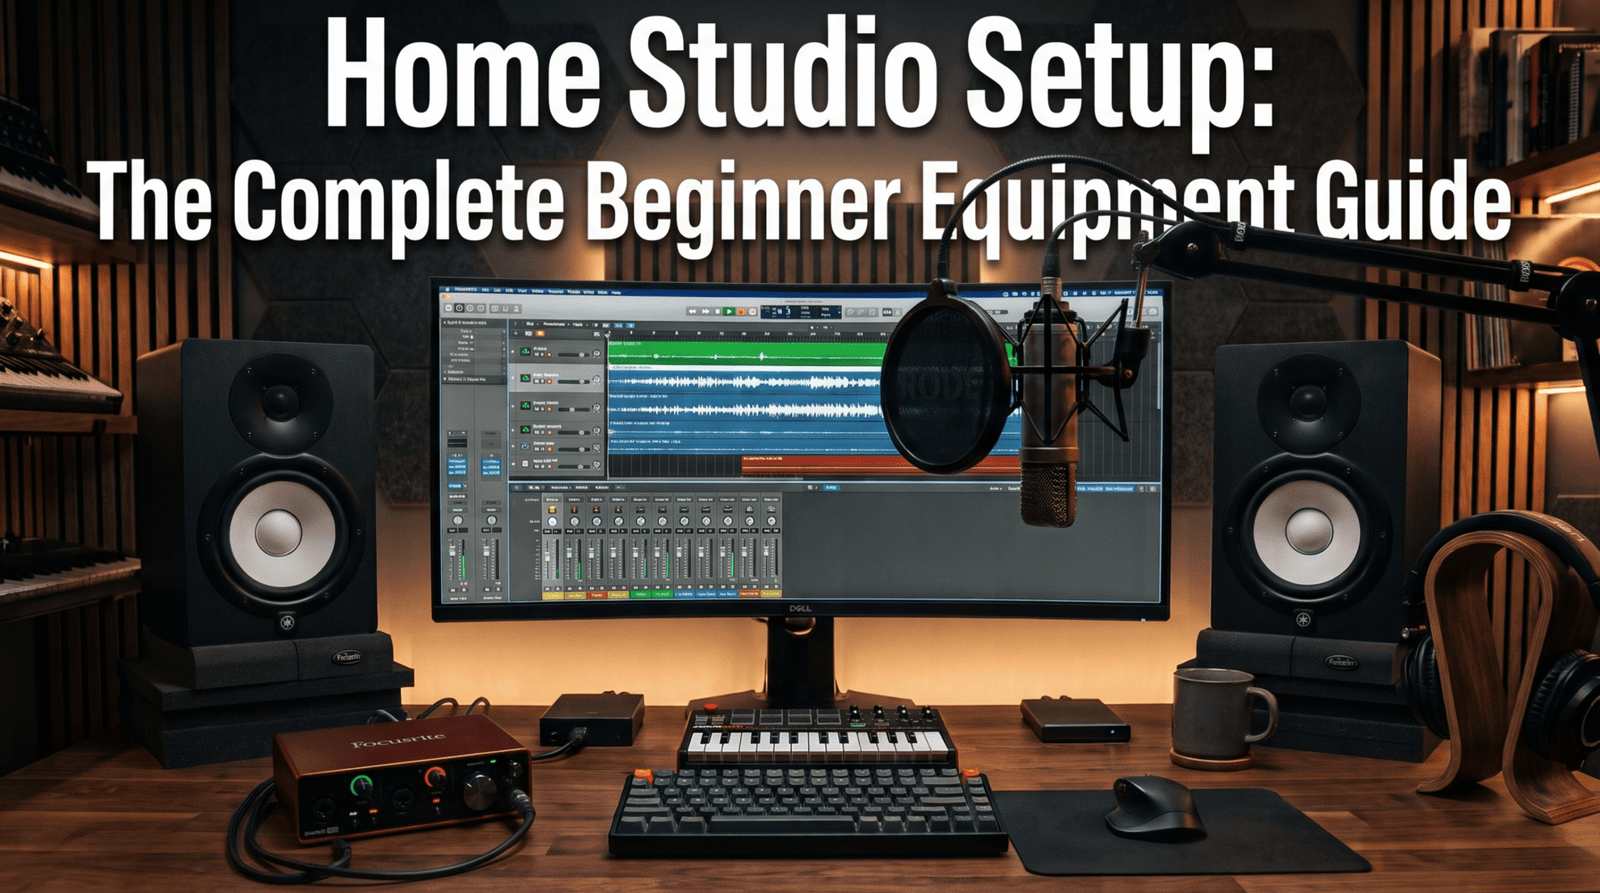
Building a dedicated home studio no longer requires thousands of dollars in commercial hardware or an acoustically built room.
With modern audio technology, creating a high-performance home recording studio capable of tracking, producing, and mixing radio-ready music straight from your bedroom is entirely within reach.
However, walking into the world of music production gear can easily lead to information overload.
Whether you want to piece together your gear individually or invest in a bundled home recording studio kit, focusing on the essential core setup is what guarantees clean audio quality and an efficient workflow.
Step 1: The Central Computer & DAW
Your computer runs your entire home studio setup.
Prioritize system stability and processing headroom so your creative sessions remain glitch-free:
- Hardware Specs: Choose a machine with at least 16 GB of RAM, a modern multi-core processor (Intel i5/i7, AMD Ryzen, or Apple M-series), and an internal SSD for rapid sample and project loading.
- Digital Audio Workstation (DAW): Pick a software platform matching your creative goals, such as FL Studio or Ableton Live for beatmaking and electronic production, or Cubase, Logic Pro, and Reaper for audio recording and mixing.
Step 2: The Audio Interface
An audio interface is the bridge in every home recording studio, converting your analog mic and instrument signals into pristine digital audio:
- I/O Capacity: A standard 2-in / 2-out USB interface is the benchmark for solo creators and bedroom artists.
- Features: Ensure it includes low-noise microphone preamps, direct monitoring for zero-latency tracking, and dedicated 48V phantom power for condenser microphones.
Step 3: Studio Microphones & Monitoring Headphones
Accurate audio capture and reference monitoring are crucial pieces of home studio equipment:
- Microphone Choice: A large-diaphragm condenser mic provides detailed vocal capture. If your room has excessive background noise or lacks acoustic treatment, a dynamic microphone will reject room reflections far more effectively.
- Closed-Back Headphones: Required for tracking vocals and live instruments without click-track bleed spilling into the microphone.
- Open-Back Headphones: The best option for mixing, providing a wide soundstage and transparent frequency response.
Step 4: Studio Monitors and Acoustic Placement
Nearfield studio monitors provide an accurate physical soundstage that headphones cannot fully replicate:
- Woofer Size: 5-inch to 6.5-inch active studio monitors are ideal for small to medium rooms. Avoid oversized 8-inch cones in untreated spaces, as they create unmanageable low-frequency buildup.
- Positioning: Form an equilateral triangle between your listening position and the monitors, pointing the tweeters directly at ear level.
Step 5: Essential Cables, Stands, and Accessories
Every complete home recording studio kit needs clean utility hardware to keep sessions running smoothly:
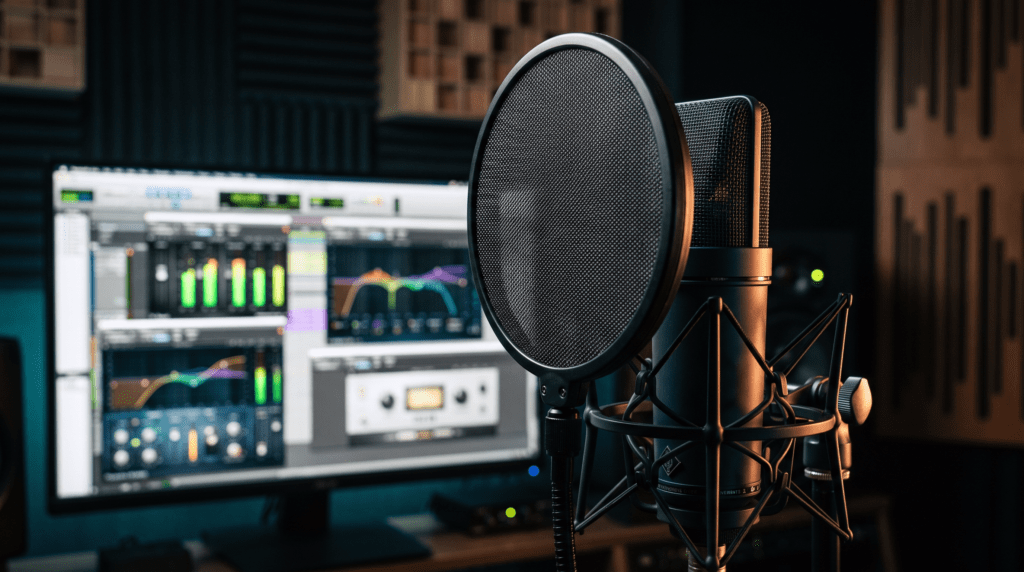
- Pop Filter: Eliminates plosive air blasts (‘P’ and ‘B’ sounds) on vocal takes.
- Balanced Cables: Use balanced XLR and 1/4″ TRS cables to prevent electrical hum and ground noise between your interface and studio monitors.
- Stands and Isolation: Mount your mic on an adjustable boom arm and place your monitors on dense isolation pads to stop desk vibrations from muddying your low end.
Setting up your home studio is an iterative process. You do not need top-of-the-line gear to make incredible music; master the tools you have, optimize your room layout, and let your ears guide your creative decisions.
Once your foundation is solid, your music will naturally translate across every sound system.