Learning how to mix and master your own music is one of the most rewarding milestones for any producer. While both stages fall under the broader umbrella of audio post-production, mixing and mastering require completely different mindsets, listening environments, and processing approaches.
Mixing is where you balance, carve, and blend individual instruments so every sound has its own distinct space.
Mastering is the final quality-control phase that takes your balanced stereo mixdown and polishes it for maximum translation, dynamic consistency, and commercial loudness across all playback systems.
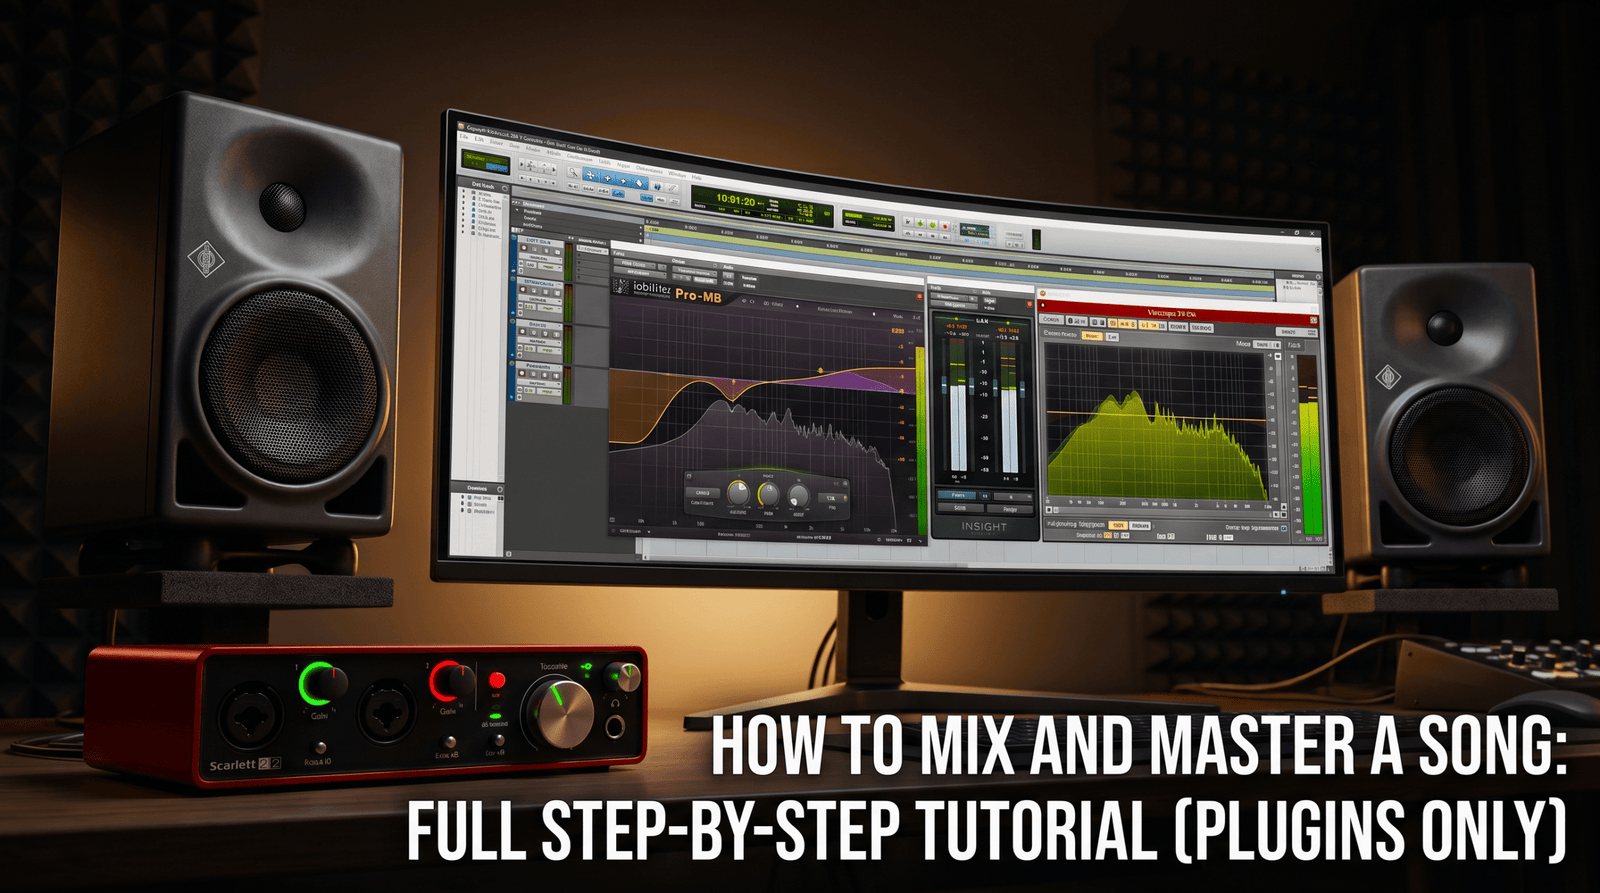
Full Mixing & Mastering Tutorial On YouTube – Watch Free:
Mixing & Mastering Basics
This comprehensive mixing mastering tutorial breaks down the essential steps needed to take your unpolished multi-tracks all the way to a finished, release-ready master.
💡 Pro Tip: Less Is More (Trust Your Ears)
Treat the settings below as a solid starting foundation – not rigid rules. Every recording, instrument, and room is unique; you might only need one or two adjustments or none at all.
Always listen critically first and only process if it solves a real problem. Below, I have laid out the most essential settings and guidelines to help point you in the right direction.
Step 1: Prepare Your Mix and Protect Headroom
A great master starts with an intentional mixdown.
Trying to fix fundamental balance flaws or frequency clashes during the mastering stage only compromises your sound:
- Fader Hierarchy: Establish a clear balance where your kick, bassline, and lead vocals form a solid core without fighting for dominance.
- Headroom Management: Keep your stereo master bus peaks between -6 dBFS and -3 dBFS. Never let your mix bus clip past 0 dBFS before you bounce the audio.
- Exporting the Pre-Master: Export an uncompressed, high-resolution audio file (24-bit or 32-bit float WAV/AIFF at your project’s native sample rate) with all master bus limiters deactivated.
Step 2: Corrective Master EQ
Import your stereo mixdown into a dedicated mastering session.
Begin with broad, corrective EQ moves to clean up inaudible energy and balance the tonal spectrum:
- Subsonic Roll-off: Apply a gentle high-pass filter (12 dB/octave) between 20 Hz – 30 Hz to remove low-end rumble and restore dynamic headroom.
- Low-Mid Clarity: If the track feels congested or boxy, apply a broad, subtle cut of 0.5 dB to 1.5 dB around 250 Hz – 350 Hz.
- High-End Sheen: Add a smooth high-shelf boost (+0.5 dB to +1.5 dB) above 10 kHz with an analog-modeled EQ to inject air and presence.
Step 3: Master Bus Compression for Glue
Unlike mixing compression where you sculpt individual dynamics, mastering compression acts as glue to bind separate elements into a unified record:
- Ratio: Stick to gentle, transparent ratios such as 1.5:1 or 2:1.
- Attack and Release: Set a slow attack time (30 ms to 50 ms) so drum transients punch through unhindered. Set the release to Auto or time it to recover in sync with the song’s tempo.
- Gain Reduction: Aim for no more than 1 dB to 2 dB of reduction on the loudest sections.
Step 4: Stereo Imaging and Mono Compatibility
A wide stereo image gives your master an immersive, professional feel, but maintaining low-end punch in mono is critical:
- Sub-Bass Mono Summing: Use a mid/side processor to sum all frequencies below 100 Hz – 120 Hz to mono. This keeps kick and bass energy centered and prevents phase cancellation.
- High-End Widening: Gently expand the stereo width on frequencies above 6 kHz by 5% to 10% to create a wider soundstage without smearing transients.
Step 5: True Peak Limiting and Target Loudness
The final stage of this mastering tutorial is brickwall limiting, which brings your track up to commercial volume while eliminating inter-sample clipping:
- True Peak Ceiling: Set your output ceiling to -1.0 dBTP or -0.8 dBTP to prevent distortion during streaming service file encoding (MP3/AAC).
- Integrated Loudness (LUFS): Use an LUFS meter to measure overall loudness. Modern streaming platforms generally target between -14 LUFS and -9 LUFS Integrated, depending on the genre.
Learning to mix and master takes patience and critical listening.
Give your ears frequent breaks between the mixing and mastering stages, cross-reference your work against commercial tracks at matched volumes, and always prioritize clarity and dynamic punch over raw, crushed volume.